

Good photos are the foundation for accurate digital sewing patterns. This guide explains how to avoid common mistakes and photograph your pattern in a way that lets PatternScan Pro detect the contours precisely. You need your cut-out pattern (white or cream), a dark flat surface, good lighting, and your Reference Tiles.
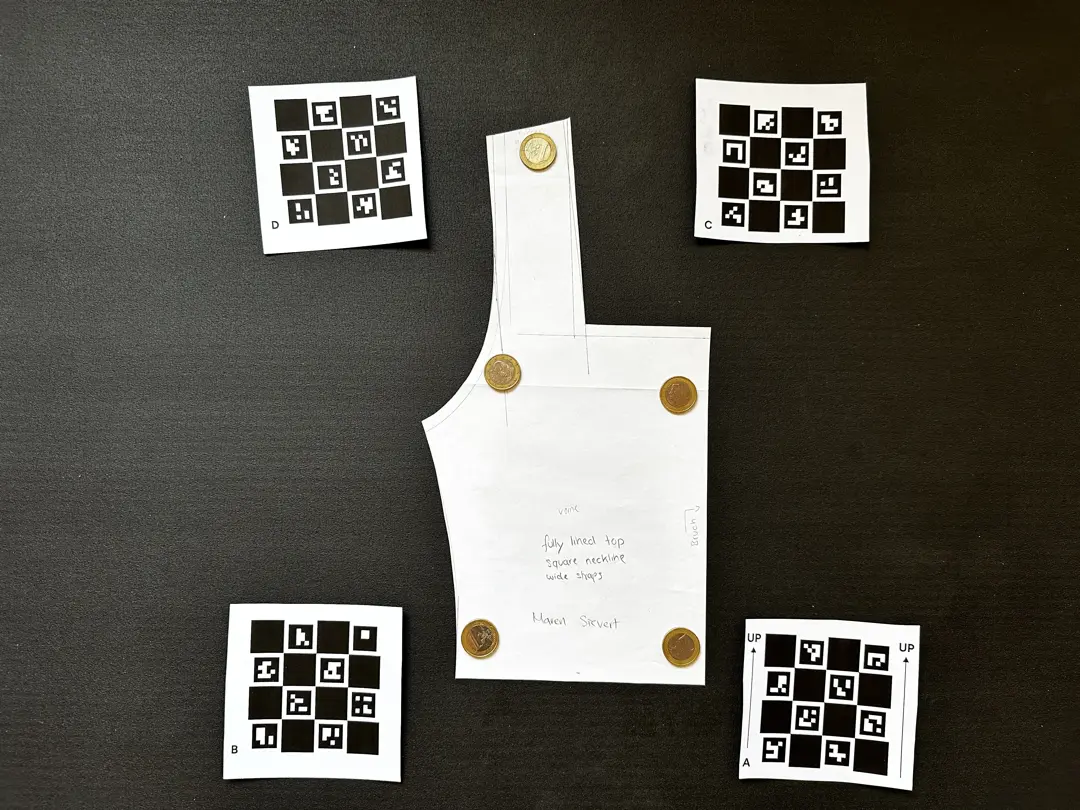
A bright, cut-out sewing pattern lies flat on a dark, even surface. The four Reference Tiles lie flat around the pattern, forming a box, all four fully visible. The photo is taken from directly above at a 90° angle with even, diffuse lighting and no shadows or reflections. All edges are fully visible and sharp.


Hold your smartphone directly above the pattern, parallel to the floor at an exact 90° angle. Use your camera’s built-in level. On iPhone, the two crosshairs need to align on top of each other.
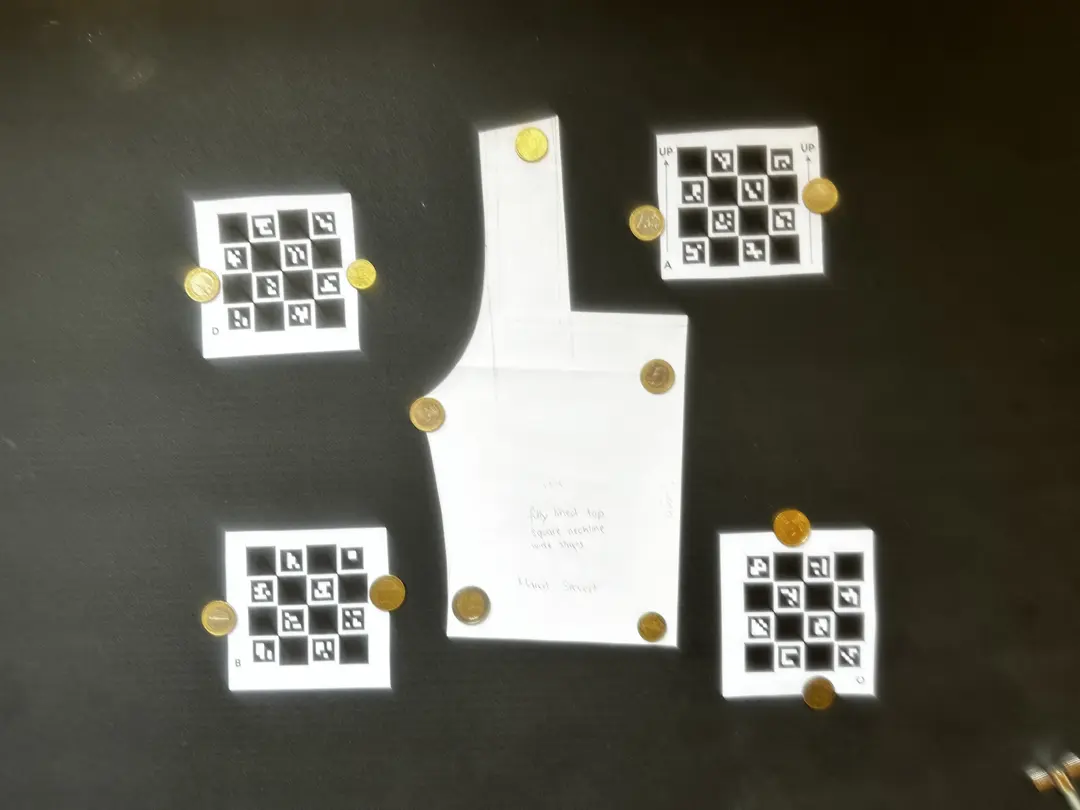
Avoid: Angled shots cause distortion. Even though the app can correct slight angles, a straight overhead shot gives the most accurate results.
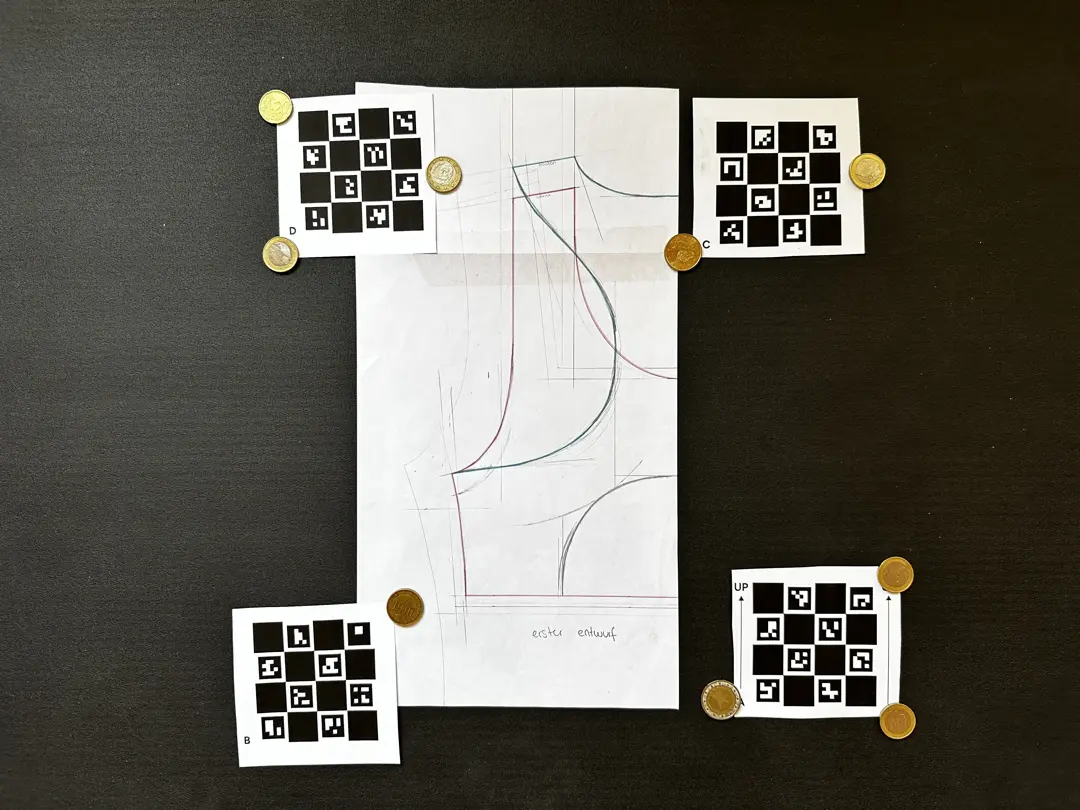
Cut your pattern cleanly along the contour lines before photographing it. Use light-colored paper or fabric (white or cream) for the best contrast.
Avoid: Uncut pattern pieces on large sheets of paper cannot be detected. PatternScan Pro needs clear, freestanding contours.
Lay your pattern completely flat and wrinkle-free on the surface. The paper must not be crumpled, wavy, or bent. Smooth it out carefully. For stubborn waves, use small weights at the corners to keep the paper flat.
Avoid: Waves, wrinkles, or bends in the paper lead to inaccuracies in detection and measurements.
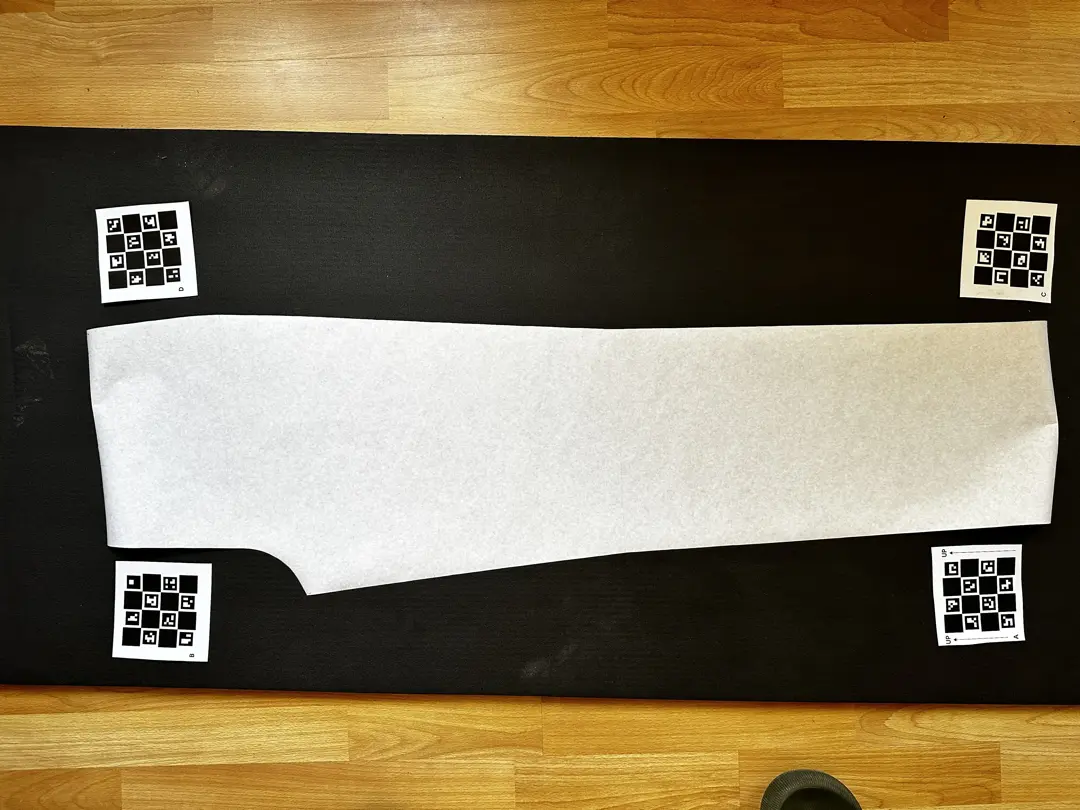
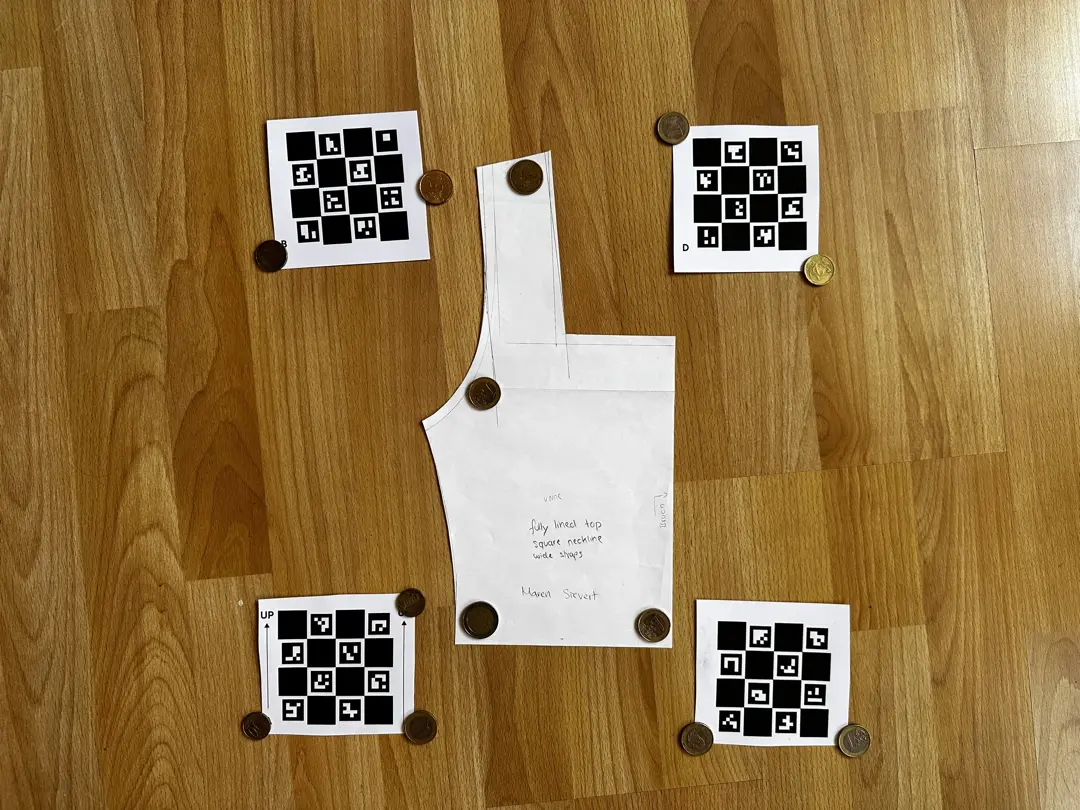
Use a dark, uniform surface with no pattern or texture. Black construction paper, black cardboard, or a plain dark floor all work well. The strong contrast between the light pattern and dark surface is essential for detection.
Avoid: Patterned surfaces like wood floors, cutting mats, or light-colored surfaces interfere with detection. The surface should be completely flat, uneven surfaces affect accuracy.
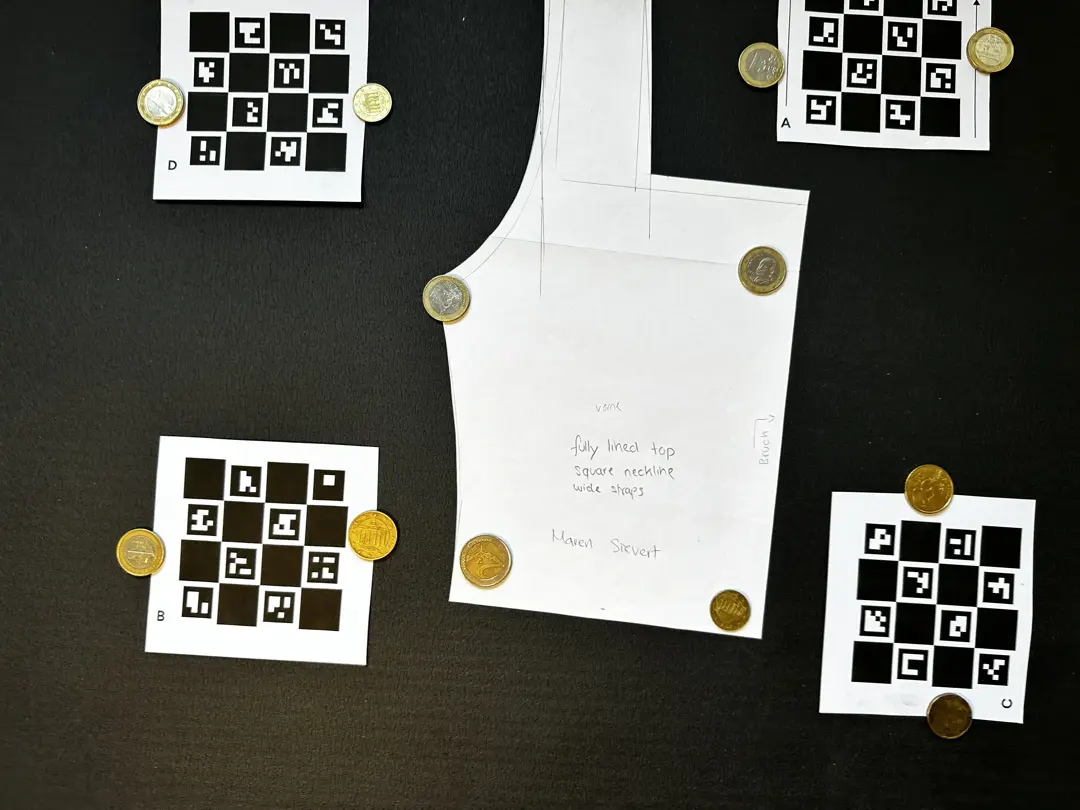
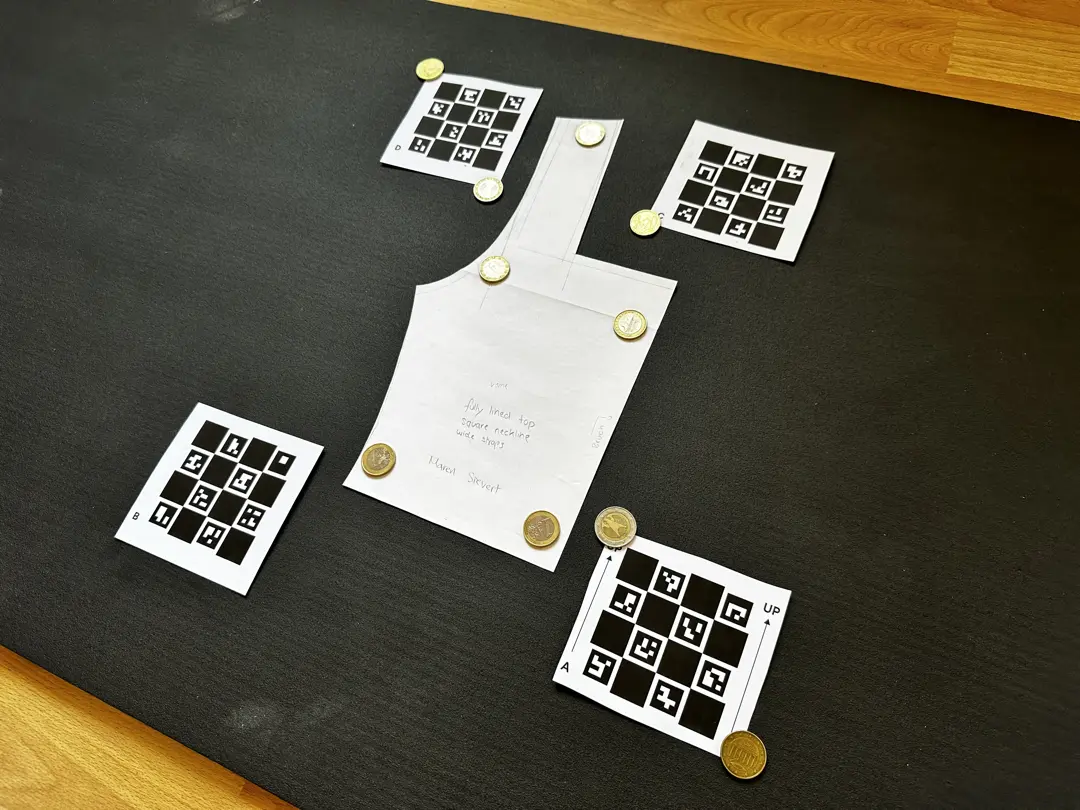
Position the camera so that the pattern and all four Reference Tiles together fill roughly two thirds of the frame. All edges of the pattern and all four Reference Tiles must be fully visible, with some space to the edge of the image.
Avoid: Cropped edges at the image border prevent correct detection. Move back far enough that the entire pattern fits in the frame with some margin. If some floor is visible outside the dark background, that is fine.
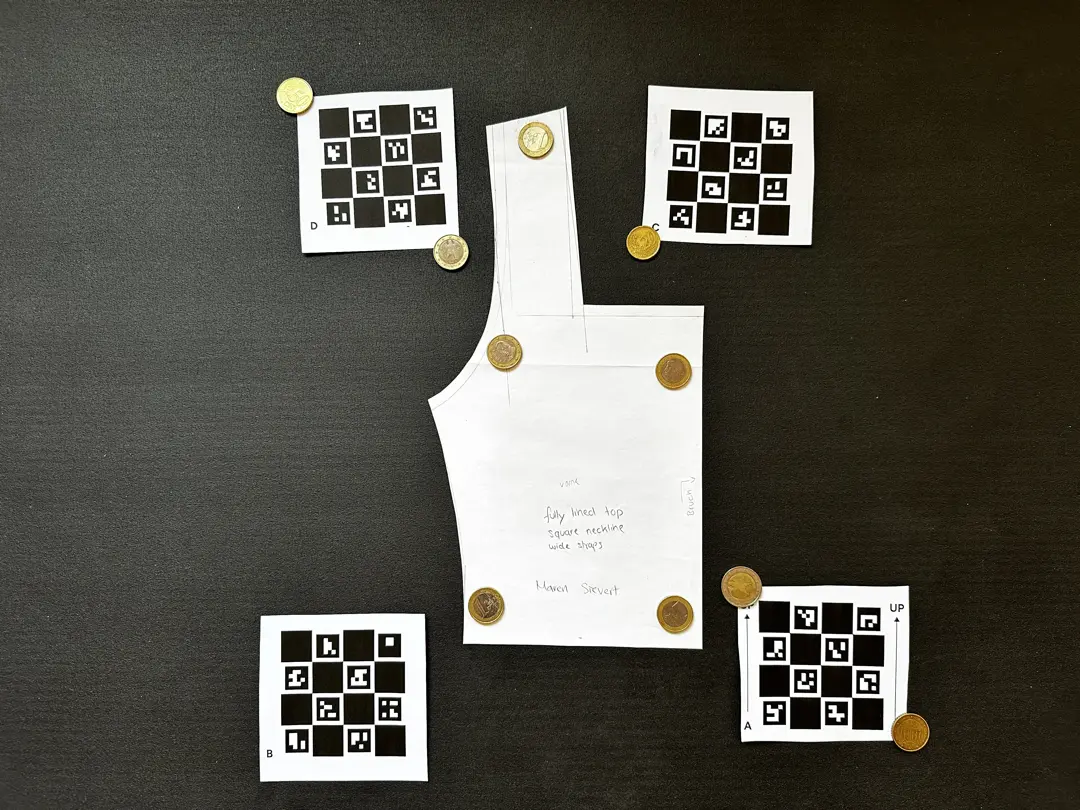
Lay all four Reference Tiles flat around the pattern so they form a box. All four must be fully visible in the photo. If a tile curls outward, gently bend it back in the opposite direction or weigh down the edges with small weights.
Avoid: Wavy, creased, or damaged Reference Tiles cause detection errors or incorrect measurements. If tiles are visibly damaged, print new ones.
Clean your smartphone camera lens thoroughly before each shot with a soft microfiber cloth. The focus must be on the pattern, all edges need to be sharp and clearly defined.
Avoid: Fingerprints, dirt, or grease on the lens cause blurry images. The edges of the pattern in particular must be crisp for accurate detection. Check the lens before each shot.
Use diffuse, indirect light from multiple directions. Overcast daylight near a window is ideal. Make sure no shadows fall on the pattern or the Reference Tiles.
Avoid: Direct light sources and reflections on the dark surface can be mistaken for parts of the pattern. Also avoid casting your own shadow when photographing from above.


Digitize sewing patterns without tracing.
Try PatternScan Pro free for 14 Days.
Photograph your paper pattern and get an automatically scaled digital version with PatternScan Pro.